At-Home First Aid Guide: Essential Tips & Quick Remedies
Accidents happen in the kitchen, bathroom or backyard – often when you least expect them. Knowing what to do in those first minutes can stop a small mishap from becoming a big problem. Below are real‑world tips you can start using today, no medical degree required.
Common Home Injuries and How to Handle Them
Cuts and scrapes: Wash your hands, then rinse the wound with clean water. Apply gentle pressure with a sterile pad or a clean cloth until bleeding slows. Once it’s under control, cover it with an adhesive bandage or gauze and change the dressing daily.
Burns: For minor burns (like a hot pan splash), run cool tap water over the area for at least 10 minutes – not ice, which can damage skin further. Pat dry, then spread a thin layer of aloe vera gel or a non‑perfumed moisturizer to keep it from cracking.
Sprains and strains: Follow the R.I.C.E. method: Rest the joint, Ice for 15‑20 minutes every two hours (wrap ice in a towel), Compress with an elastic bandage, and Elevate above heart level if possible. If swelling doesn’t improve within 48 hours, consider seeing a professional.
Choking: If you or someone else can’t speak or cough, perform the Heimlich maneuver. Stand behind the person, make a fist just above their belly button, grab your fist with the other hand and give quick upward thrusts until the blockage clears.
Allergic reactions: Keep an antihistamine on hand for mild hives or itching. For severe swelling, difficulty breathing, or a known allergy to bee stings, carry an epinephrine auto‑injector (EpiPen) and call emergency services immediately.
Building Your Basic First Aid Kit
A well‑stocked kit saves you time searching for supplies. Here’s a lean list that fits in a small tote:
- Adhesive bandages (various sizes)
- Sterile gauze pads and medical tape
- Antiseptic wipes or solution (like hydrogen peroxide)
- Disposable gloves – one pair per incident
- Elastic wrap for sprains
- Cold pack or instant ice packs
- Aloe vera gel, antibiotic ointment and a small bottle of hydrocortisone cream
- Acetaminophen or ibuprofen tablets (check dosage)
- Antihistamine tablets
- Epinephrine auto‑injector if anyone in the household has severe allergies
Store everything in a waterproof container and check expiration dates every six months. Replace anything that’s used or past its date – it only takes a minute.
Now, what should you do when an emergency strikes? First, stay calm. Panic raises heart rate and makes your hands shaky, which can lead to mistakes. Take a deep breath, assess the situation, and then apply the relevant step from the list above. If you’re ever unsure, calling local medical services is always the safest bet.
Practicing these basics with family members builds confidence. Run through a quick scenario once a month – pretend someone cuts their finger while cooking or twists an ankle during a backyard game. You’ll be surprised how much smoother things go when you’ve already rehearsed the steps.
Remember, at‑home first aid isn’t about replacing professional care; it’s about buying time and reducing injury severity until help arrives. Keep your kit handy, brush up on these simple techniques, and you’ll feel more prepared for whatever life throws your way.
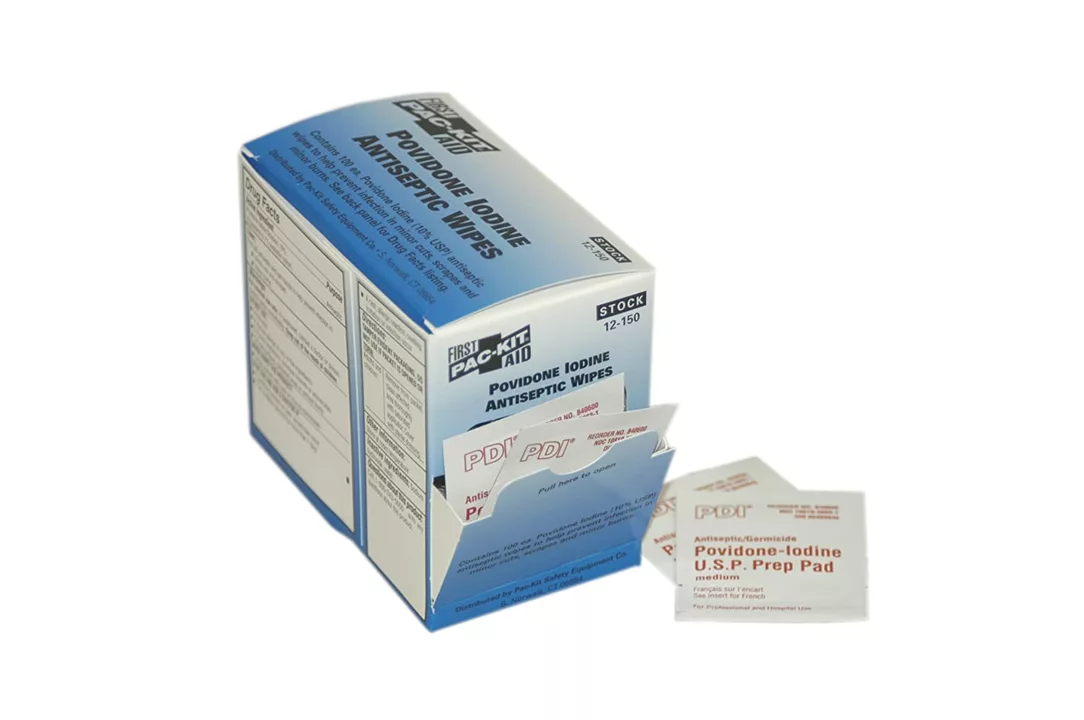
Povidone-iodine for at-home first aid: Tips and guidelines
As a blogger, I recently came across some valuable information about using povidone-iodine for at-home first aid. Povidone-iodine is a fantastic antiseptic solution that effectively eliminates bacteria, viruses, and fungi. It's essential to clean any wounds or cuts with this solution to prevent infection, and it's super easy to apply. Always remember to follow the guidelines and instructions on the product label, and consult a healthcare professional if you have any concerns. Keep some povidone-iodine in your at-home first aid kit to ensure you're prepared for any minor injuries!